雷达流速仪(非接触流速仪、表面流速仪)
雷达水位计
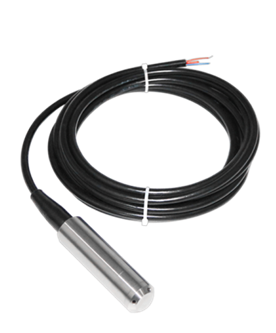
压力式水位计
雷达水位计(平板雷达7m)
雷达水位计(平板雷达40m)
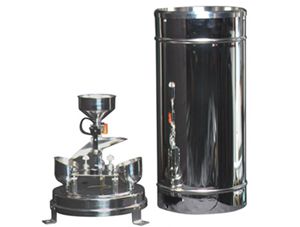
翻斗式雨量计
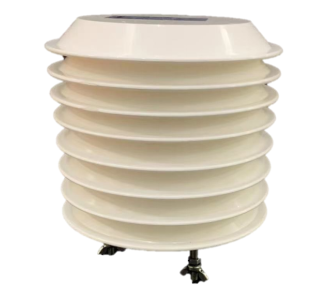
大气温湿压一体传感器
一体式雨量站
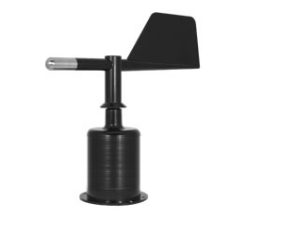
风向传感器
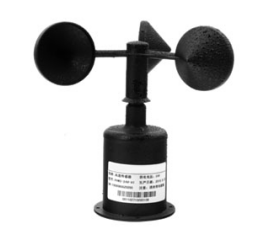
风速传感器
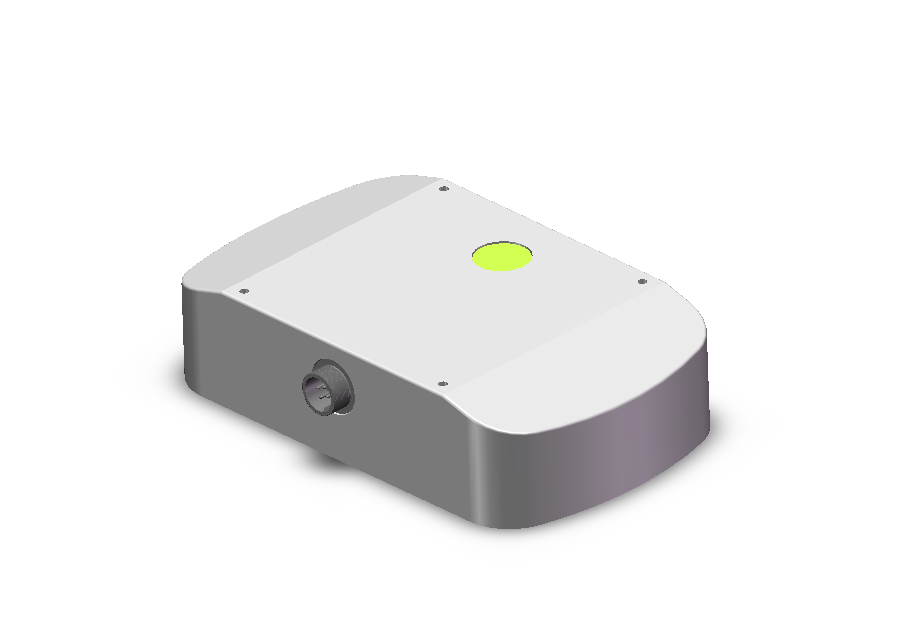
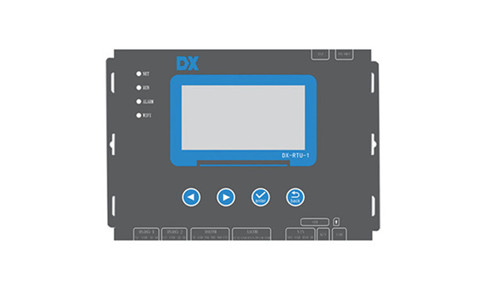
遥测终端机Ⅱ
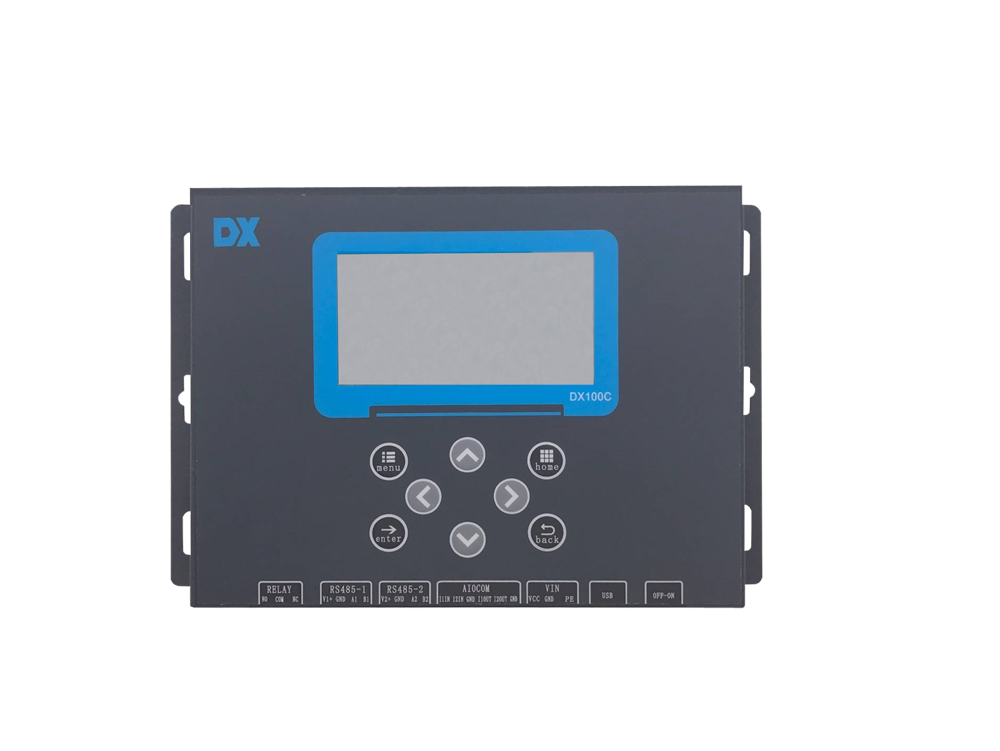
通用型数字控制器
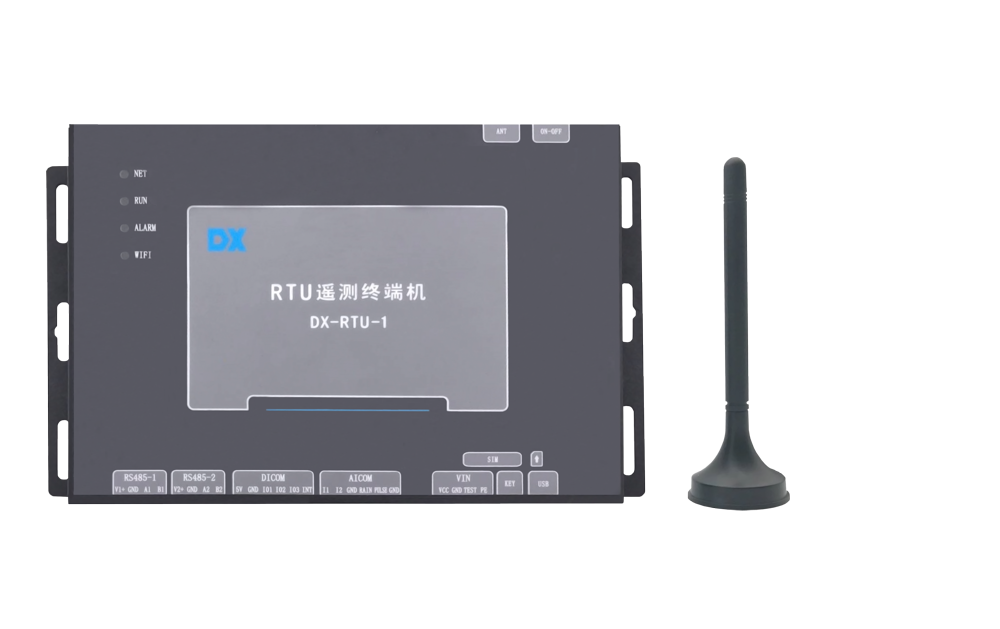
遥测终端机Ⅰ
今天,cq9电子公众微信平台正式上线了!武汉cq9电子在和广大客户的沟通中...
cq9电子是一家专注于cq9电子、cq9电子 监测仪器的供应商和系统解决方案服务商。目前已形成以cq9电子、cq9电子 的成套在线监测产品,以GPRS数据传输类产品、以低功耗控制终端等为代表的几大产品系列。公司产品已在水利、水电、水文、水资源、市政排水、cq9电子 等不同的领域得到广泛的应用。